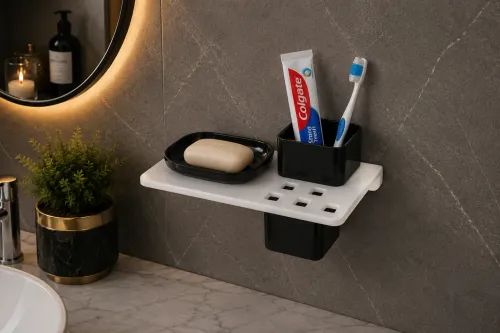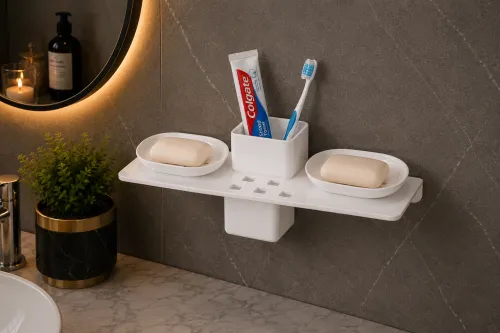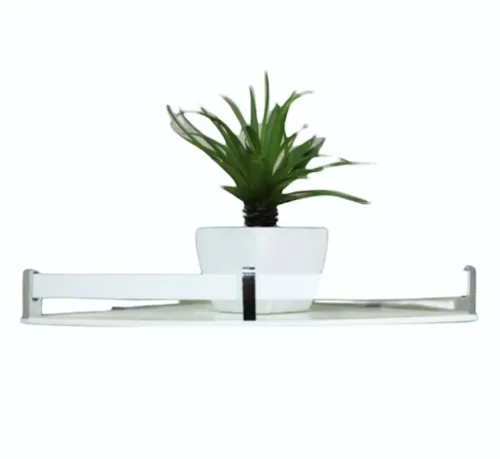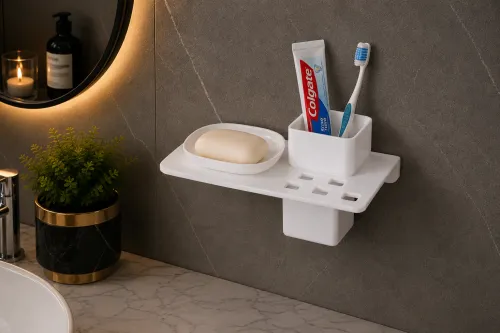
A bathroom shelf becomes useful when it separates items by how you use them: dry bottles and cosmetics on the platform, wet grooming tools in a holder that can drain. You will be able to judge the arrangement, clean it without damaging acrylic, plan its load, and choose a fixing method that suits your wall.
Key takeaways
- Keep dry products on the shelf and grooming tools upright in the tumbler.
- Wipe water and residue promptly to reduce staining, slipping, and surface scratches.
- Distribute weight across the shelf instead of loading its front edge.
- Choose fixings that suit your bathroom wall, tile, and expected load.
Give Each Bathroom Item a Defined Place
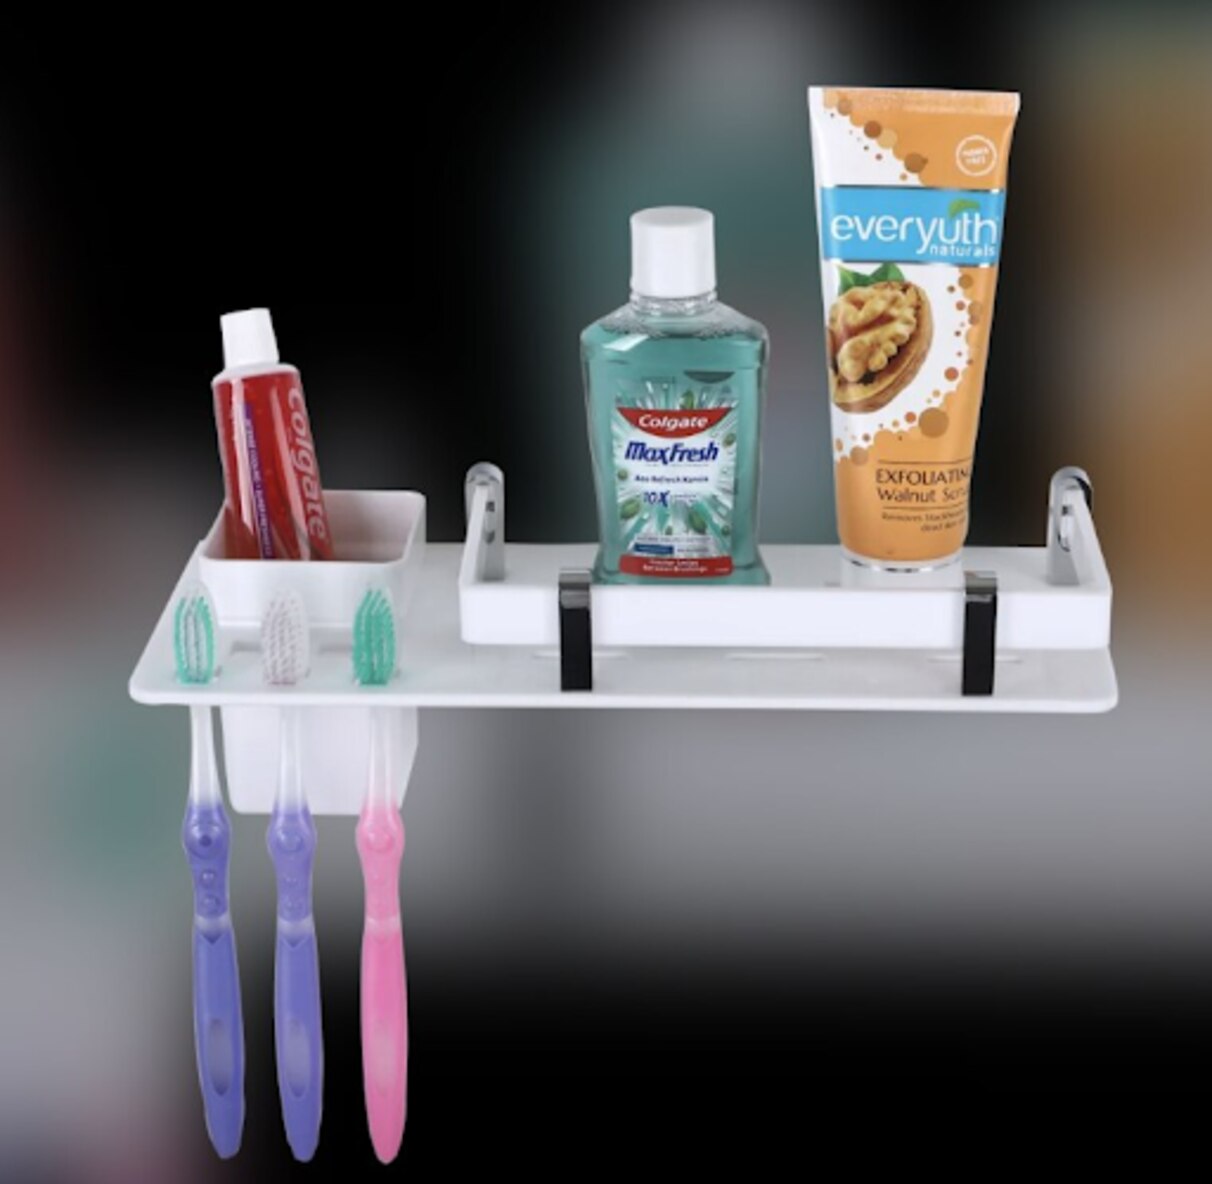
Put dry, frequently used products on the shelf and reserve the tumbler for upright grooming tools. This simple separation makes daily bathroom storage easier to use without turning the platform into another crowded surface.
1. Place handwash, skincare bottles, folded face cloths, combs, small cosmetics, and shaving cream on the main shelf. Keep products used at the basin within reach, but move backup stock, large pump bottles, and heavy glass containers to a cabinet or lower, sturdier surface.
2. Use the toothbrush tumbler holder for toothbrushes, toothpaste, razor handles, makeup brushes, or other small grooming tools only when the tumbler’s depth and opening keep them upright. A shallow cup lets handles tip out; an oversized opening leaves items leaning against one another.
This arrangement also works as a toothpaste storage and shaving items organizer without occupying the sink.
3. Treat a rinsing cup differently from a toothbrush cup. A rinsing cup needs a washable interior and a drainage route, while a toothbrush cup must let wet handles dry without trapping them against its base.
Position the holder beside or below the shelf so toothbrushes and razors stay off the sink while bottles remain accessible.
4. Check that the tumbler lifts out before buying. Look underneath for drain holes, an open bottom, or a channel directing water away from stored items. If water empties onto the shelf, it can pool under bottles and create residue; controlled separation, not an extra surface, is the practical benefit.
Keep Water, Residue, and Scratches Under Control
Inspect the drainage path immediately after installation and again after a week of normal use. Water should leave the tumbler without crossing the front edge, wetting the wall, or entering a seam where soap residue can collect.
1. If the holder has a drain opening, open bottom, or channel, confirm that water exits away from the shelf and stored bottles. If it has no drain opening, empty and rinse the tumbler daily, then dry the cup and its support.
2. Follow this acrylic cleaning procedure: rinse away grit with lukewarm water, apply a small amount of mild detergent, and wipe gently with a clean, soft microfiber cloth. Blot dry with another clean microfiber cloth; do not rub dust across the surface.
3. Keep abrasive powders, rough scrub pads, dry paper towels, acetone, ketones, aromatic solvents, concentrated alcohols, ammonia-based cleaners, and unapproved disinfectants away from the shelf. They can cause acrylic scratches and clouding, crazing, whitening, or stress cracks before the damage becomes obvious.
4. Never pour very hot water over the shelf or install it beside a radiator, heated towel rail, or exposed hot-water pipe. Do not drag ceramic dispensers or metal razors across the platform.
Clear acrylic shows water spots, toothpaste film, dust, and edge damage. A frosted, tinted, or opaque finish reduces the visible cleaning burden, while a supplier’s chemical-compatibility list tells you which bathroom cleaners are safe.
Plan the Load Around the Shelf’s Weakest Points
Acrylic shelf load capacity cannot be inferred from thickness alone. Span, depth, support spacing, mounting direction, hole placement, edge shape, temperature, and load position all affect bending and failure. Put the heaviest bottle near the rear wall or supports, spread containers across the platform, and keep concentrated weight away from the front edge.
Use this loading checklist:
- Keep large refill packs, cast-iron containers, multiple glass bottles, countertop appliances, and anything you must force into place off a small wall shelf.
- Watch for front edge deflection, whitening around a drilled hole, a growing crack, or movement at the bracket. Unload the shelf immediately if any appears.
- Treat a front lip as a stiffness feature, not free storage space: it can reduce usable depth and catch spilled liquid.
- Remember that a deeper shelf stores more products but applies greater bending force at the wall.
- Require a capacity statement naming the test span, support arrangement, load duration, allowable deflection, and service temperature. Ask whether it covers the complete mounted assembly or only the acrylic panel.
Acrylic weighs about 1.18 g/cm³, compared with roughly 2.5 g/cm³ for soda-lime glass, so it places less dead weight on fixings. That advantage does not create a universal rating. Acrylic stiffness falls as it warms, so do not apply room-temperature data beside a radiator, heated towel rail, or hot-water pipe.
Good weight distribution protects the panel, holes, and wall together.
Match the Fixing Method to the Actual Bathroom Wall
Identify the surface behind every fixing point before choosing a shelf. For tile wall installation on ceramic or porcelain, use a tile-rated bit, slow drilling, and controlled pressure; drilling near an edge or hollow section increases breakage risk. Grout cannot replace sound tile or a structural anchor.
| Surface | Required approach | Main risk |
|---|---|---|
| Tile | Tile-rated bit and controlled pressure | Cracked tile or hollow sections |
| Painted drywall | Stud or correctly rated drywall anchors | Pull-out under the intended load |
| Concrete | Masonry bit with a compatible plug or anchor | Incompatible fixing or poor embedment |
| Glass or laminate | Manufacturer-approved hardware or purpose-designed bonding system | Adhesive failure on polished, coated, or flexible surfaces |
Before drilling, follow the installer’s information and check for concealed plumbing and wiring. Screw-and-plug mounting provides a defined mechanical load path, but only with the correct anchor, drill size, clearance, and access.
Adhesive mounting avoids tile holes, but it depends on clean surfaces, sound grout, full bond area, peel resistance, and adhesive mounting cure time. Do not load the shelf during curing. Ask HV Enterprise for the installation sheet and assembly-level capacity, not just acrylic thickness.
- Permitted substrate and fixing method
- Load rating and whether it applies to adhesive, screws, or both
- Test span, support arrangement, load duration, and allowable deflection
ASTM D570, D638, and D256 describe water absorption, tensile properties, and impact resistance; they do not establish the safe capacity of a finished shelf.
Use a Practicality Checklist Before You Commit
The arrangement earns its space only if it reduces sink clutter without creating another cleaning task. Use this bathroom shelf buying checklist before you commit:
- Confirm a removable tumbler, upright drying for wet toothbrushes or razors, and a drainage path that keeps water off shelf contents and the wall.
- Measure usable width and depth around your actual bottles, including pump clearance and the space needed to lift the tumbler out.
- Reject chips, sharp internal corners, rough drilled holes, or marks around fasteners. A polished edge improves handling but does not prove that internal stress is absent.
- Ask how the acrylic was finished and request cleaning and chemical-compatibility guidance. Account for the wall finish, nearby heat sources, bottle weight, and your cleaning routine.
- Request the stated load data for the complete mounted assembly, not just the acrylic panel.
| Material | Practical advantage | Check before choosing |
|---|---|---|
| Stainless-steel 304 | Suits many indoor bathrooms | Trapped moisture, dissimilar metals, and chlorine cleaners can still stain it |
| Stainless-steel 316 | Better resistance in chloride-rich environments | It is not immune to localized corrosion or staining |
| Clear acrylic | Keeps a small bathroom visually open | Water spots, toothpaste film, dust, and edge damage remain visible |
| Frosted or opaque acrylic | Hides routine marks more effectively | Confirm that the finish still suits your cleaning and inspection needs |
Choose the finish that matches your maintenance tolerance. Transparency and light weight alone do not make a shelf practical.
Frequently asked questions
What belongs on an acrylic bathroom shelf with tumbler holder?
Place dry, frequently used products on the shelf and use the tumbler for upright grooming tools such as toothbrushes and razors.
How do you prevent water, residue, and scratches?
Keep wet items from pooling on the platform, wipe soap and toothpaste residue promptly, and avoid dragging abrasive containers across the acrylic.
How should you plan the shelf load?
Spread products across the shelf, keep heavy items away from the front edge, and check the shelf’s stated capacity before installation.
How do you choose a fixing method for a bathroom wall?
Match the fixing to the wall material, such as tile, grout, painted drywall, or masonry, and use suitable anchors without drilling through unsupported tile areas.