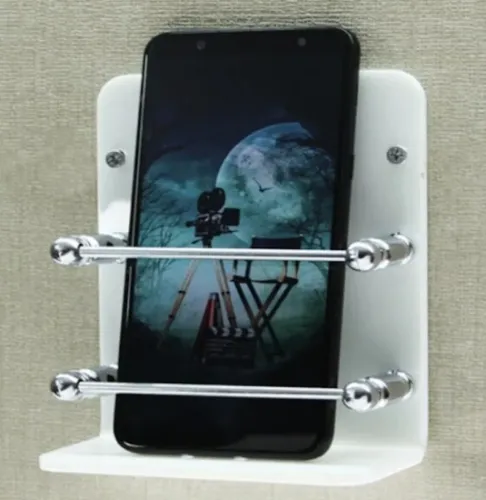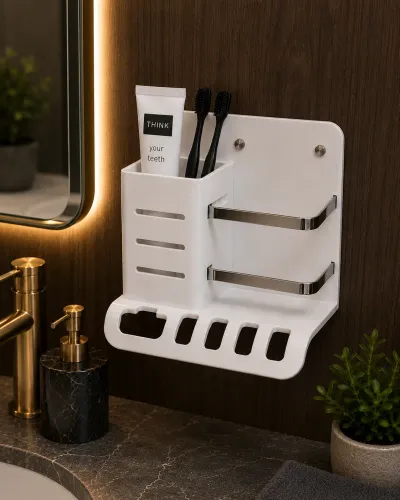
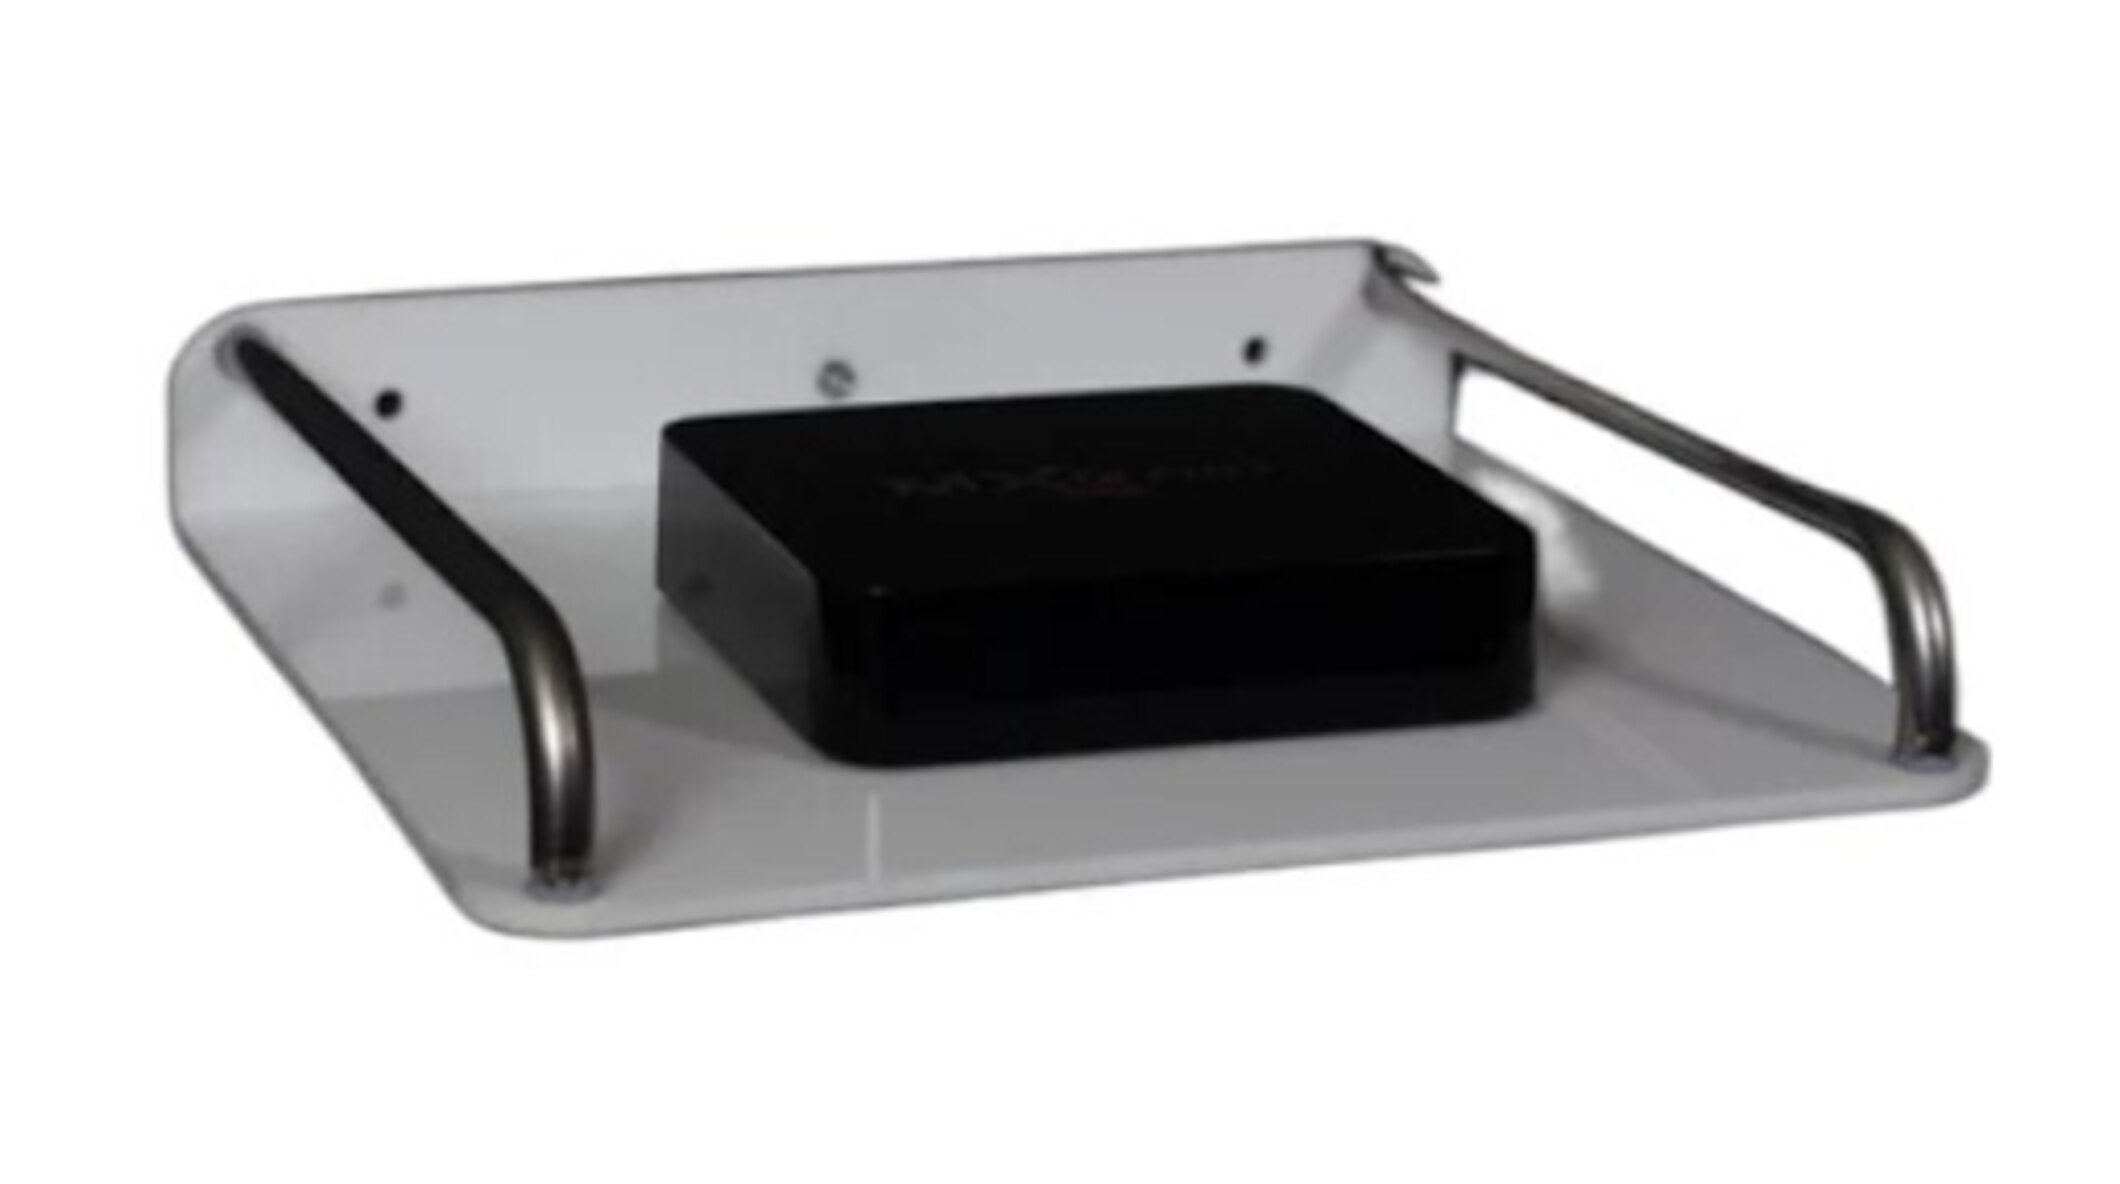
An organized TV wall depends on more than hiding the decoder: the stand must fit the box, preserve airflow, expose the remote sensor, and support cables without loading the ports. By checking placement, mounting, clearances, materials, and installation details, you can create a cleaner setup without trading away service access or equipment reliability.
Key takeaways
- Place the stand on a level, deep surface that fully supports the decoder.
- Leave ventilation space around the set-top box and keep ports accessible.
- Use cable clips, ties, and a non-slip pad to prevent movement.
- Check dimensions, acrylic thickness, load support, edges, and finish before acceptance.
Where should the stand sit, and how should it be mounted?
Choose the position by balancing screen alignment, servicing access, support, and cable routing. A freestanding acrylic stand belongs on a level TV cabinet or shelf with enough depth to keep the decoder fully supported, not overhanging.
In a wall-mounted TV unit, place the shelf below or beside the display, but give it an independent fixing; VESA Flat Display Mounting Interface hardware secures the television, not the accessory.
| Mounting surface | Suitable fixing approach | What to verify |
|---|---|---|
| Masonry | Masonry screw or expansion anchor | Anchor rating, hole depth, projection, and allowable loaded capacity |
| Timber stud | Structural screw into the stud | Screw size, stud location, bracket spacing, and loaded capacity |
| Hollow drywall | Toggle or cavity anchor rated for the load | Board condition, anchor spacing, projection, and safety factor |
| Smooth surface | Specifically rated adhesive system | Clean surface, adapter and cable-pull load, and adhesive rating |
A wall-mounted stand with a cantilevered acrylic shelf needs checks for projection, support-bracket position, fastener type, maximum loaded deflection, and the combined weight of the decoder, adapter, and hand contact. A shelf supported at both ends resists bending better than one fixed along a single edge.
Keep the box visible for servicing, and preserve a direct remote path to its receiver.
Mark the shelf outline and cable route before drilling or bonding. This prevents a neat TV wall setup from hiding the box behind the screen, covering a wall socket, or placing HDMI and power leads beyond reach.
How do you check fit, airflow, and remote-control access?
Measure the set-top box dimensions before choosing a stand. Specify usable internal dimensions—width, depth, and height—not the shelf’s outside size, then add space for the power plug, HDMI connector overmold, Ethernet latch, antenna or coaxial connector, and each cable’s bend radius.
| Check | What to measure | What goes wrong if ignored |
|---|---|---|
| Width | Box width plus side cable clearance | Plugs or cables press against the walls |
| Depth | Box depth plus rear connector and bend space | A matching footprint loads the ports |
| Height | Box height plus top ventilation clearance | The lid or vents become blocked |
| Adapter | External power adapter separately | The adapter occupies more room than expected |
Identify every intake and exhaust opening before selecting the shelf. Leave each opening uncovered, maintain ventilation clearance around the exhaust side, and avoid enclosing the decoder in a neat acrylic compartment.
Acrylic is a thermal insulator, not a heat spreader like stainless steel, so air circulation provides the cooling; leave side and rear space for cables without sharp bends.
Test the supplied remote from the normal seating position and confirm infrared remote sensor access. Clear acrylic does not guarantee infrared performance when it is tinted, frosted, printed, thick, or heavily scratched. Finally, confirm the loaded capacity with the decoder, adapter, and occasional hand contact included—not just the decoder’s mass.
A shelf that flexes or shifts during use is underspecified.
How can you route cables and prevent the setup from slipping?
Plan cable exits before fixing the stand. Route HDMI, Ethernet, coaxial, and power leads toward the wall or cabinet rear, not across the television face. Use a gentle bend and respect the HDMI cable bend radius; folding a cable immediately behind its connector can damage the plug or port.
Leave service slack, then secure the loop against the wall or panel so its weight does not pull on the box. That support provides power cable strain relief.
For HDMI 2.1 features requiring up to 48 Gbps, choose a certified Ultra High Speed HDMI Cable. Connector appearance, price, and length alone do not prove bandwidth. Specify rounded or polished cutouts because a raw laser-cut slot can abrade insulation during repeated servicing.
| Surface | Slip-prevention method | Fixing warning |
|---|---|---|
| Glossy cabinet | Use a compatible non-marking anti-slip TV stand pad or a restrained cable route | A cable pulled forward can drag the box off the shelf |
| Wall-mounted panel | Secure the stand through the panel or its structural support | Friction alone is not a load-bearing fixing |
Do not over-tighten screws through acrylic. Washers, spacers, adequate edge distance, rounded internal corners, and controlled tightening reduce point loading around holes and corners. Keep cable clips away from ventilation openings, and avoid adhesive pads when their residue or peel strength does not suit the panel finish.
Plan Ethernet cable routing so clips hold the cable without crushing it.
How does acrylic compare with other TV-wall storage options?
Acrylic works best when you want the decoder visible, easy to identify, and visually light beneath a wall-mounted screen. Transparency reduces visual bulk, but fingerprints, cable shadows, screw heads, edge polish, and scratches remain visible.
| Option | Advantages | Limitations |
|---|---|---|
| Acrylic versus metal shelf | Clear appearance; compact wall layout; easy visual identification | Less heat spreading; wear shows sooner; brackets and infrared obstruction require checking |
| Wooden TV console compartment | Hides equipment and cables effectively | Enclosed sides and back can trap heat; remote access and servicing become harder |
| Floating TV shelf | Holds the decoder and adapter with extra usable room | Needs stronger wall fixing and occupies more visual and physical space |
| Direct cabinet placement | Simplest setup and easiest replacement | Leaves the box exposed to cable pulls, spills, dust, and accidental contact |
A ventilated metal shelf manages heat better than acrylic, but conspicuous brackets can affect the appearance and metal can block or reflect part of the infrared path. Test the actual remote with the decoder in position rather than assuming a clear front guarantees reliable control.
Compare each option by:
- Usable space for the decoder, adapter, plugs, and cable bends
- Open ventilation around intake and exhaust openings
- Cleaning method and resistance to visible wear
- Loaded support, including occasional hand contact
- Installation effort and service access
Choose acrylic when visibility and a compact wall layout matter most. Choose metal for heat management, wood for concealment, or direct cabinet placement when minimal installation effort matters more.
What should you specify and inspect before accepting the stand?
1. Give the supplier an acrylic stand specification based on the actual decoder: model, measured width, depth, height, connector locations, adapter dimensions, total loaded mass, mounting surface, and preferred cable direction. Ask for usable internal dimensions, acrylic thickness, support spacing, maximum projection, loaded deflection, fastener size, anchor type, wall anchor load, and stated safety factor.
2. Request a drawing that shows ventilation openings, cable exits, edge distance around drilled holes, and the remote-sensor path. If a separate bracket or fixing system is used, assess that bracket and its anchors as part of the load-bearing assembly; a shelf rating without its fixing method is incomplete.
3. Reject the piece if it has sharp edges, rough cutouts, cracks around holes, rocking contact points, or a shelf that is not level. Test the actual decoder before concealing cables: confirm connector access, airflow clearance, infrared response, and a safe cable bend without pulling on the ports.
4. Obtain acrylic cleaning instructions that name compatible chemicals. Use a soft, damp microfiber cloth; avoid abrasive cleaners, dry dusting, paper towels, acetone, and alcohol formulations unless the acrylic manufacturer approves them, because they can scratch or craze the surface.
When requesting an organizer from HV Enterprise, provide these measurements and acceptance checks rather than asking only for a clear shelf.
Frequently asked questions
Where should an acrylic set-top box stand sit?
Place a freestanding stand on a level TV cabinet or shelf with enough depth to support the decoder without overhang. Align it with the television and leave access for servicing.
How do you check fit, airflow, and remote-control access?
Measure the decoder’s width, depth, and height, then compare them with the stand’s internal dimensions. Leave space around ventilation openings, avoid blocking ports, and confirm that the remote has a clear line of sight.
How can you stop the set-top box and stand from slipping?
Route cables through clips or ties, keep strain off the ports, and add a thin non-slip pad beneath the stand when the surface is smooth.
What should you inspect before accepting the stand?
Check the specified dimensions, acrylic thickness, load support, edge finishing, joints, surface clarity, stability, cable openings, and any scratches or cracks.